To prepare your home for new flooring installation, you need to clear and inspect the space, allow the flooring to acclimate, check door and subfloor conditions, and plan for dust before the installers arrive. Most delays and extra costs on installation day come from preparation that was skipped or rushed beforehand. The steps below cover everything you need to do, in order, before the crew shows up.
Before Installation Day
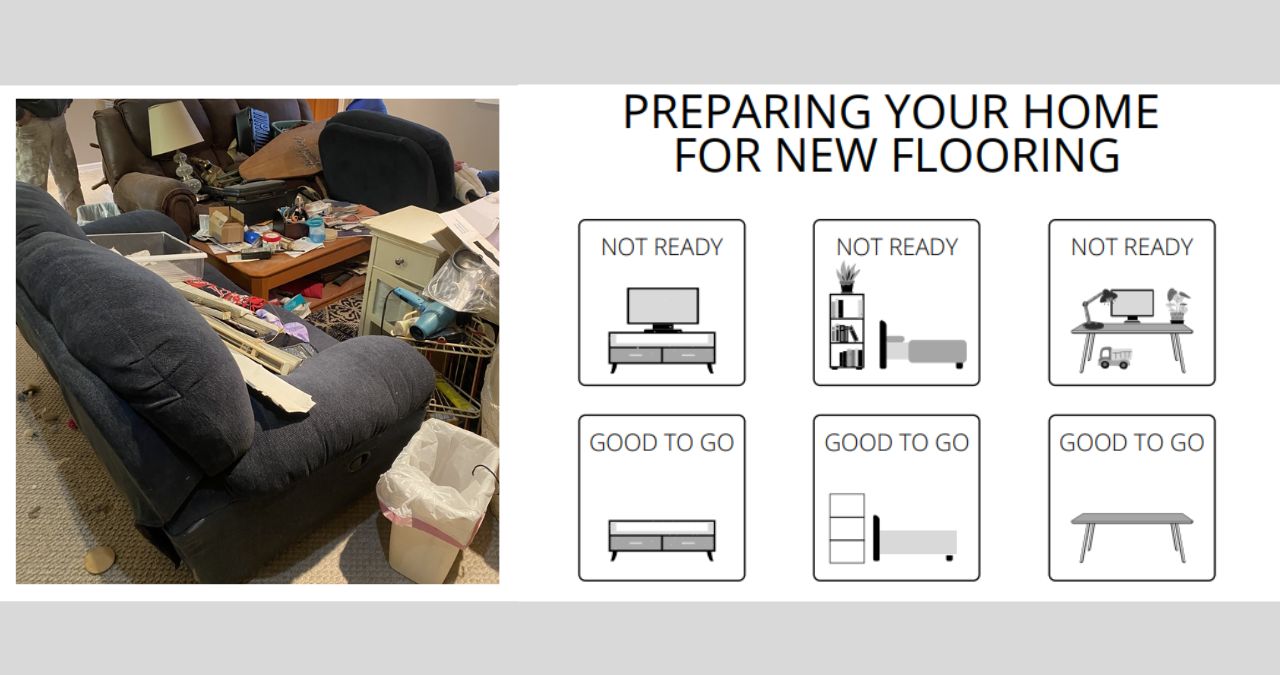
- Remove all furniture, breakables, artwork, and window treatments from the room
- Clear closets and storage areas within the space being floored
- Disconnect any gas appliances or electronics in the work area
- Remove baseboards and door trim
- Take doors off their hinges and store them safely
- Inspect the subfloor for soft spots, moisture damage, or uneven areas
- Apply leveling compound where needed and confirm concrete is moisture-tested
- Allow flooring to acclimate in the room for 72 to 96 hours at the correct temperature and humidity
- Check all door clearances for the new floor height
- Set up a dedicated cutting area outside or in the garage
- Seal vents and hang plastic sheeting in doorways for dust control
- Arrange for pets to be secured or off-site on installation day
Preparing Your Home for New Flooring:
PHASE ONE: BEFORE INSTALLATION DAY
This is where all the prep work happens. Each step below should be completed before the installers arrive.
Step 1: Clear the Room Completely
Move all furniture out. Use furniture sliders to avoid gouging the subfloor during the move. Do not stop at the obvious pieces. Clear closets, built-in shelving, and any storage areas within the space being floored. Remove artwork, mirrors, and window treatments. If you have nowhere to put things, the garage works better than stacking items in adjacent rooms that installers may need to access.
Check with your installer in advance whether furniture moving is included in the project quote. Some installers include it, some do not, and finding out on installation day creates delays.
Step 2: Remove Baseboards, Door Trim, and Doors
Baseboards need to come off so the new flooring can tuck cleanly underneath for a finished edge. If they are in good condition, they can be reinstalled after the floor is laid. Label each piece so you know where it goes back.
Door trim and case moldings around doorways should also be removed so the flooring slides underneath rather than butting up against them. This produces a cleaner result than cutting the trim in place.
Remove doors from their hinges entirely. Stack them in a closed room with a soft blanket between each door to prevent scratches and keep all hinge pins together in a bag.
Step 3: Inspect and Prepare the Subfloor
Removing old flooring often reveals problems that were hidden underneath. Soft spots, water damage, uneven areas, and residual adhesive all need to be addressed before the new floor goes down. These issues do not fix themselves and they cause new flooring to shift, crack, or show bumps after installation.
For wood subfloors, use screws rather than nails to secure any loose areas. For concrete, test for moisture before installation, particularly in basements where moisture levels are consistently higher. Apply leveling compound to any uneven areas and allow it to fully cure before proceeding.
One important note: subfloor conditions including excess moisture, debris, or instability can void the manufacturer warranty on some flooring products. Check the warranty terms for your specific product before installation begins.
Step 4: Let the Flooring Acclimate
Do not move flooring from a store or warehouse directly to installation. Wood, vinyl, and laminate all expand and contract with changes in temperature and moisture. If the boards have not adjusted to the conditions of the room before being installed, they will shift and swell after the fact.
Stack the flooring flat in the room where it will be installed, not in the garage or on a covered porch. Leave it for 72 to 96 hours. Most manufacturers also require the room to maintain a specific temperature and humidity range during this period. Check the product specifications or the box before you begin.
Step 5: Check Door Clearances
New flooring raises the floor height. Even a quarter inch can prevent a door from opening or closing correctly. Check every door in and around the work area including closet doors, bathroom doors, and exterior doors before the flooring goes down. Trimming a door before installation is straightforward. Discovering a clearance problem after the floor is laid is not.
Step 6: Set Up a Cutting Area and Plan for Dust
Designate a cutting area outside or in the garage before installation begins. Moving the saw out of the living space is the most effective way to limit how far sawdust travels through the home.
Inside, seal heating and cooling vents to prevent fine dust from circulating through the system. Hang plastic sheeting across doorways between rooms. For large projects, rent a dumpster for the old flooring material rather than making multiple trips to the dump.
PHASE TWO: ON INSTALLATION DAY
Step 7: Disconnect Gas Appliances and Electronics
If the flooring work extends into a kitchen or laundry room, arrange to disconnect any gas lines and electrical hookups in the work area before the installers arrive. For straightforward disconnections, this is a DIY task. If there is any uncertainty, have a professional handle it.
Step 8: Secure Your Pets
Keep pets in a separate room or arrange for them to be off-site. Cutting equipment is loud and disorienting for animals, and a pet moving through the work area creates safety risks and slows the job. If you are choosing new flooring and have pets, this is also a good time to consider scratch-resistant and water-resistant options such as luxury vinyl plank, which holds up better against pet traffic and accidents than carpet or laminate.
Upgrade Your Home with New Flooring Options
| Flooring Type | Best For | Key Consideration |
|---|---|---|
| Carpet | Bedrooms, low-traffic areas | Requires level subfloor; acclimate before install |
| Luxury Vinyl Plank or Tile | High traffic, pets, moisture-prone areas | Can install over existing floors; check height clearance |
| Engineered Hardwood | Living areas, moderate traffic | Acclimate 72 to 96 hours; check subfloor moisture |
| Laminate | Budget-conscious buyers | Cannot be refinished; not suitable for wet areas |
| Ceramic Tile | Kitchens, bathrooms | Requires level subfloor; grout adds maintenance |
| Bamboo or Cork | Eco-conscious buyers | Sensitive to moisture; acclimate carefully |
Leave Room for the Doors
New floors elevate the flooring height if you don’t remove the old boards or tiles. A quarter-inch difference can prevent the doors from closing properly. Materials like thick hardwood flooring or tile flooring have little space for clearance. This creates dragging in unexpected areas.
You should check the following places for clearance before fitting the flooring:
- Clothes closets
- Bathrooms
- Exterior doors
Trimming doors before fitment is much easier than after discovering clearance issues once the flooring is already installed.
Prepare Your Home: New flooring Preparation
Every installation project starts with a conversation. If you are not sure which flooring type fits your space, how your subfloor needs to be prepared, or whether your existing floors need to come up first, our team in Omaha, Lincoln, and Sioux Falls can walk you through it.
Get a Free Estimate
Browse the Flooring Buying Guide
For more helpful advice on choosing the best flooring for your space or professional flooring installation services, explore our full range of flooring solutions today.
Carpet Land | Flooring Installation in Omaha, Lincoln & Sioux Falls | Best Prices on Carpets, Flooring & More
We make shopping for carpet & flooring in Omaha, Lincoln, and Sioux Falls easy! Take advantage of our FREE estimates and consultations today. Our incredible buying power at Carpet Land allows us to deliver the lowest flooring product prices in town, so shift your focus to finding the perfect flooring for your home. We look forward to working with you. Contact us for your FREE Estimate TODAY.
Click here for Carpet Land Omaha, Lincoln, & Sioux Falls Flooring Buying Guide.